Featured
Clintonville Riverside Golf Course Details
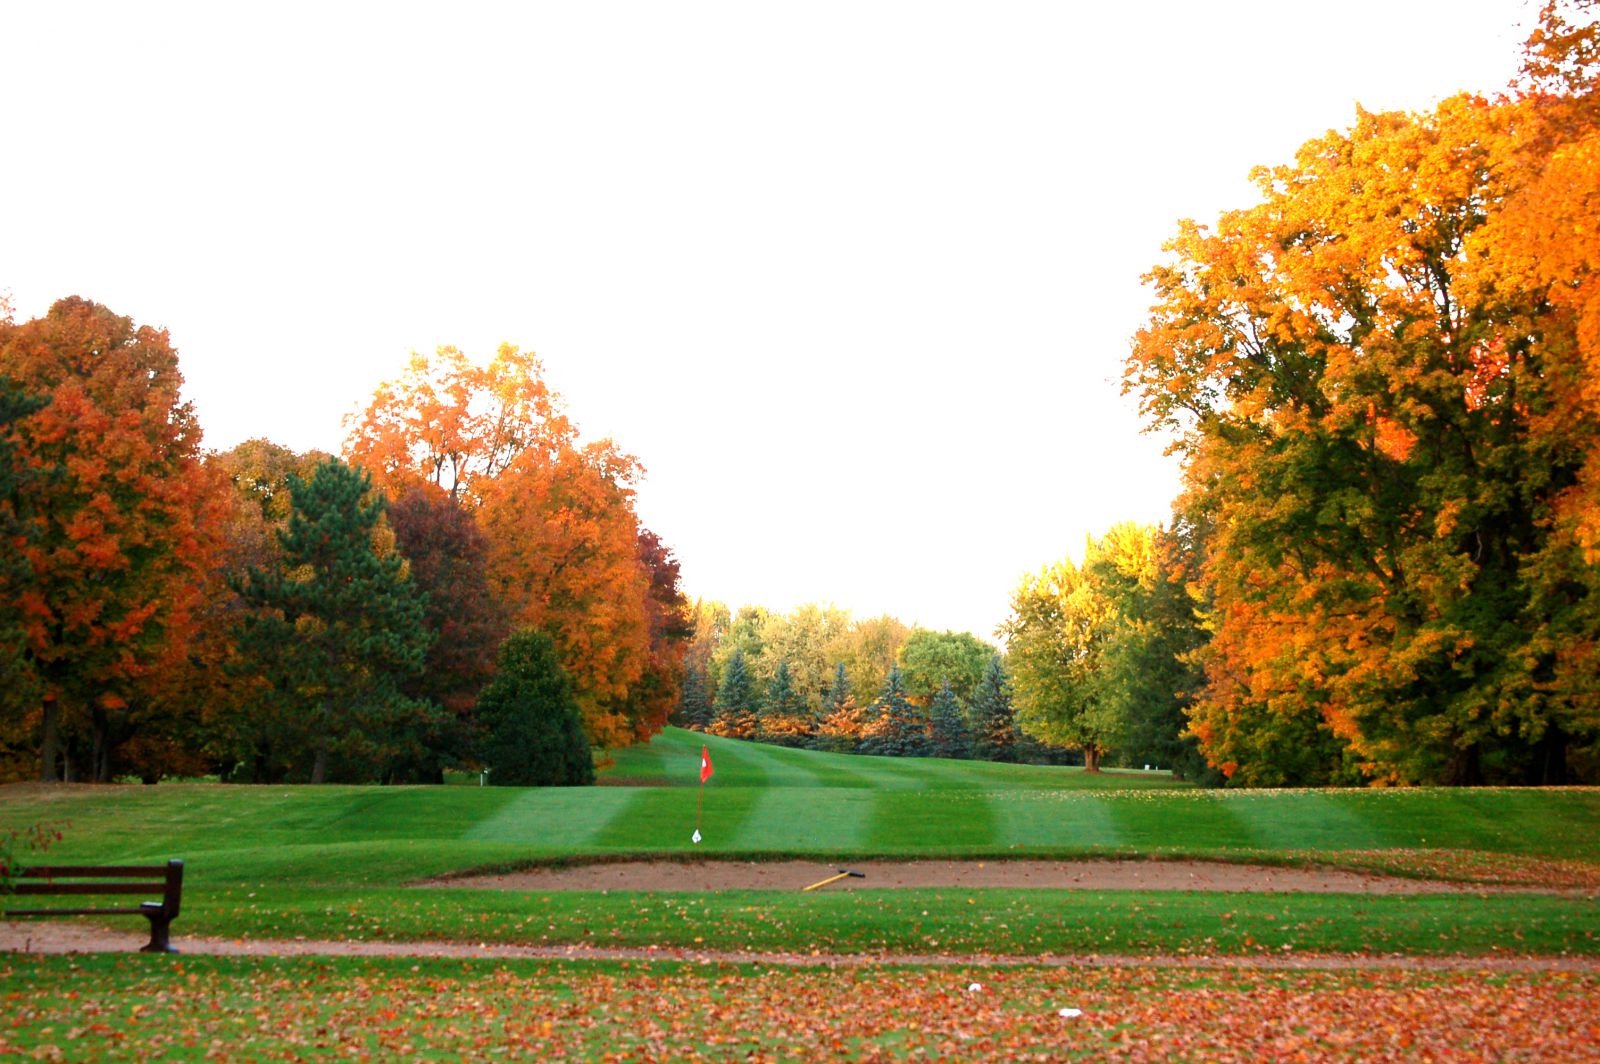
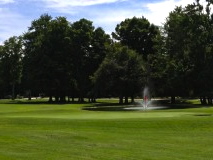
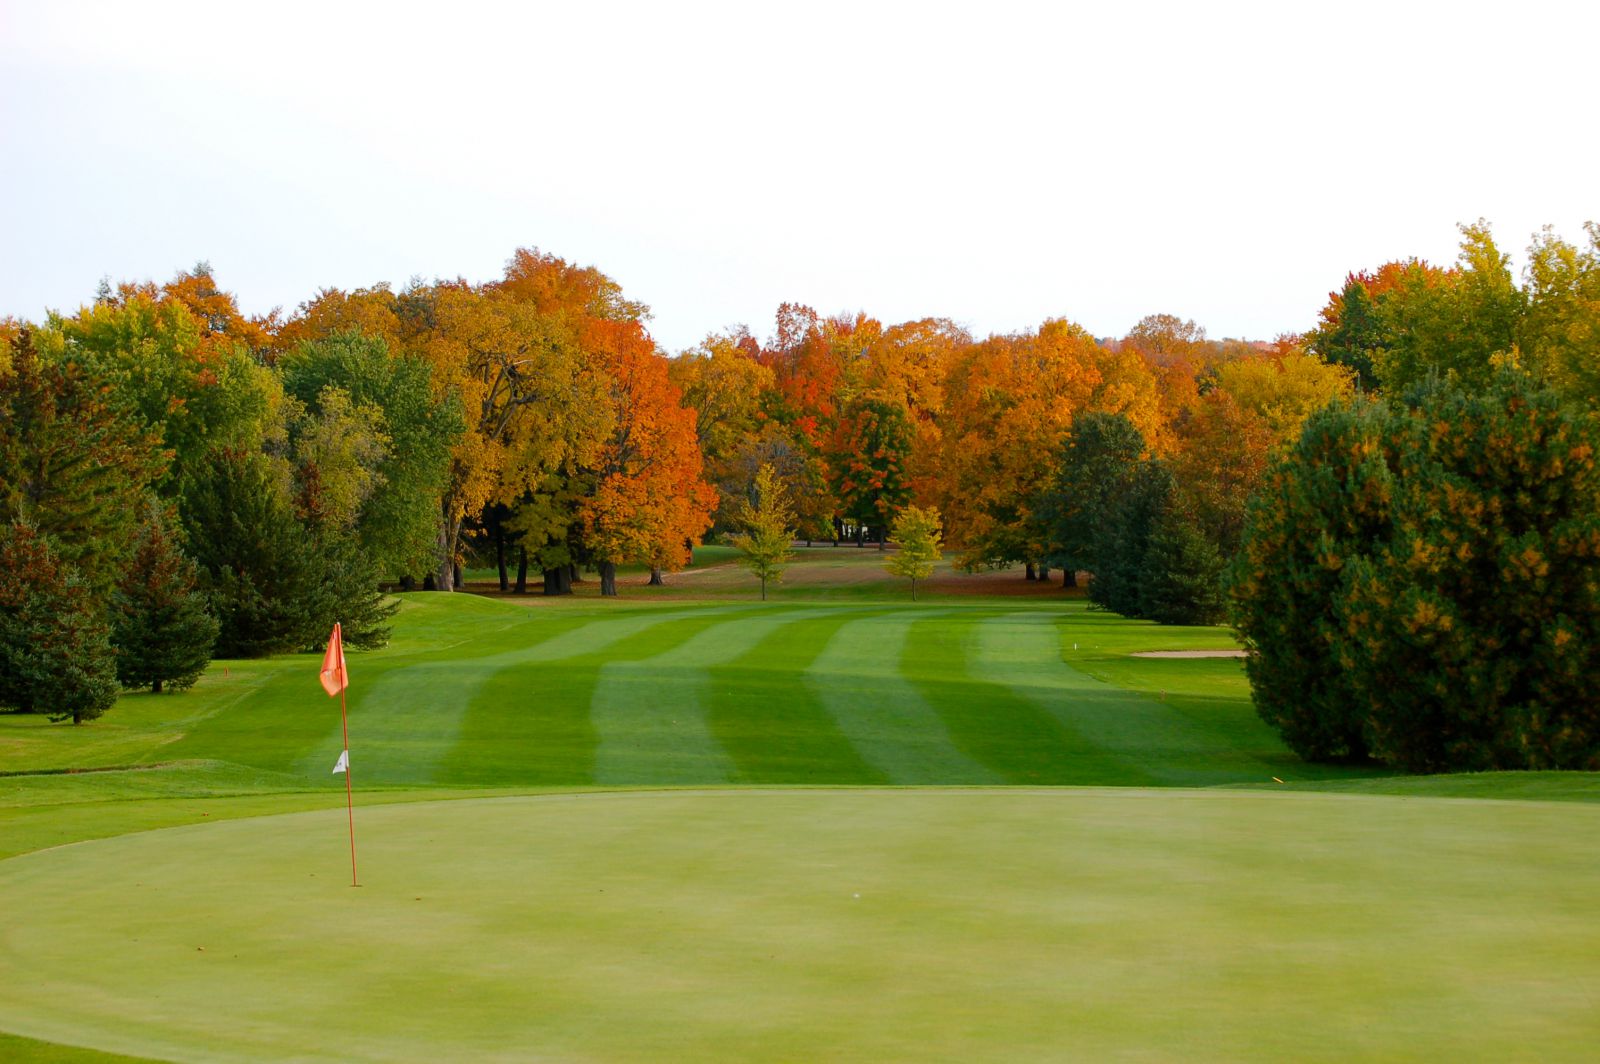
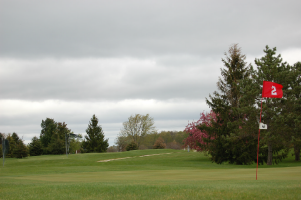
Riverside Golf Course is defined by its natural beauty, with mature Maple, Pine, Cedar, and Oak trees shaping the character of the layout from the opening tee shot to the final putt. Located in Clintonville, Wisconsin—just 40 minutes from both Appleton and Green Bay—this 18‑hole regulation course blends classic charm with a welcoming, modern golf experience. With three sets of tees, Riverside offers an enjoyable yet thoughtfully challenging round for players of every skill level. It’s the kind of course that invites you in with its scenery, keeps you engaged with its strategy, and leaves you eager to return.

Scorecard


Course Tour
#1
1st Hole
This 343‑yard par 4 offers a subtle dogleg right and wastes no time demanding precision. A large bunker and trees on the left and the woods tightening the right create an opening tee shot that punishes anything straying from the fairway. Find the short grass, and you’re rewarded with an uphill short‑iron approach into a compact green, elegantly protected by bunkers on both sides. It’s a challenging target, and walking off with par delivers a quiet sense of satisfaction as you make your way toward the 2nd tee.
#2
2nd Hole
At 460 yards, this par‑4 demands both strategy and conviction from the very first swing. The fairway stretches beyond a dramatic ravine guarding the landing zone, daring players to take on the bold 260‑yard carry for the ideal position. Those who rise to the challenge are rewarded with a generous expanse of fairway and a clean, confident approach into a meticulously protected green. It’s a hole where beauty and challenge intertwine—equal parts risk and reward—and it quickly becomes one of the most unforgettable shots of the round.
#3
3rd Hole
Don’t be fooled by its modest length—this 439‑yard par 5 commands your full attention from the tee. A narrow, tree‑lined corridor creates an immediate sense of focus, rewarding only the most disciplined drives with a clear path ahead. Anything drifting off‑line brings out‑of‑bounds, dense timber, and unpredictable lies into play. Even with its shorter yardage, this hole tests every facet of your game: placement, patience, and unwavering nerve. Walk off with a par here and it feels like a quiet triumph—one of those understated highlights you’ll remember long after you’ve reached the clubhouse.
#4
4th Hole
This 164‑yard par 3 is as breathtaking as it is exacting. The water feature short and left creates a dramatic foreground, daring players to take dead aim at a green that’s both tightly protected and barely 10 yards deep. Front and back bunkers frame the target with precision, leaving no margin for shots that come up long or short. Strike the perfect number and you’re rewarded with a genuine birdie opportunity; miss your mark and you’ll be fighting to salvage par. It’s a visually stunning test of nerve and accuracy—one that lingers in a golfer’s memory long after the round is over.
#5
5th Hole
At 393 yards, this par 4 presents a deceptively inviting start from the tee, with a broad, welcoming fairway that encourages a confident swing. But the true test reveals itself on the approach. The second shot demands absolute precision into a narrow, double‑tiered green that falls sharply from front to back. Anything finishing above the hole shifts the odds toward the dreaded three‑putt, as the slope turns even the most delicate strokes into a challenge. Find the proper tier, though, and you’re rewarded with a rare look at birdie on one of the course’s most exacting greens.
#6
6th Hole
This 368‑yard par 4 greets players with a beautifully framed view from the tee, its fairway gently bending to the right in a way that feels both inviting and strategic. A well‑placed drive is essential, setting up the ideal angle into a large green that rewards precision while showcasing its subtle contours. The putting surface is receptive yet full of character, offering a genuine birdie opportunity to those who approach with confidence and a thoughtful read. It’s a hole where aesthetic charm and strategic nuance come together seamlessly—one that quickly becomes a favorite for golfers who appreciate both beauty and craft.
#7
7th Hole
This 395‑yard par 4 delivers a demanding examination from the very first swing. The slight dogleg left rewards a confident, well‑shaped tee shot, while anything less leaves a difficult angle into an elevated green. The putting surface is expansive yet deceptively treacherous—heavily sloped and subtly quick, turning even short putts into a true test of touch and nerve. Precision is required on every shot, and walking off with par brings a quiet sense of accomplishment as you head to the next tee.
#8
8th Hole
At just 317 yards, this par 4 may appear unassuming on the card, but it delivers one of the most intriguing strategic moments of the round. The fairway bends gracefully to the right, inviting a disciplined tee shot into a narrow fairway lined by trees on both sides. Precision is the prudent play, setting up a comfortable short‑iron approach into the green. But for the bold, the temptation is undeniable. Big hitters will eye the corner, chasing the rare chance at an eagle putt—though out‑of‑bounds lurks menacingly to the right, ready to punish even the slightest misfire. Pull it off and you’re a hero; miss your line and double bogey becomes a very real possibility. It’s a quintessential risk‑and‑reward hole, the kind that keeps golfers coming back for another attempt at perfection.
#9
9th Hole
This 165‑yard par 3 presents a beautifully framed scoring opportunity the moment you step onto the tee. With an open look to the green, players are encouraged to take confident aim—yet the large bunkers flanking both the left and right remind you that precision still matters. The true threat lies along Club House Drive to the left, where anything drifting on or over the road is out of bounds. Find the center of the green and you’re poised for a genuine birdie chance, but a careless pull can turn promise into penalty in an instant. It’s a refined blend of temptation and discipline, rewarding those who commit to the right line.
#10
10th Hole
The back nine opens with a welcoming 324‑yard par 4, offering just enough forgiveness to inspire confidence while still demanding disciplined execution. The tee shot plays uphill, and though the fairway is generous, keeping it between the lines is essential for unlocking this hole’s true scoring potential. A solid drive leaves a crisp short‑iron into a small, beautifully framed green that rewards precision. Big hitters view this as an early chance to post a “3,” stepping onto the tee with quiet ambition. Play it smart, execute with control, and this hole becomes a tone‑setter for the entire inward nine.
#11
11th Hole
This 361‑yard par 4 stands among the course’s most picturesque offerings, unveiling a stunning panorama from its elevated tee. The fairway below is broad and inviting, encouraging players to swing with confidence as they position themselves for a smooth approach. The second shot plays slightly uphill into a large, beautifully framed green, where a prominent front bunker waits to gather anything that comes up short. It’s a hole that blends scenic charm with just the right measure of challenge—rewarding thoughtful execution while showcasing the natural elegance of the landscape.
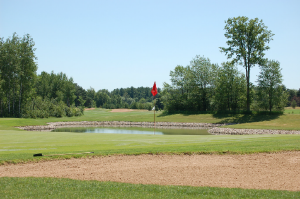
#12
12th Hole
This 169‑yard par 3 is as breathtaking as it is bold—the undeniable signature of the course. The green complex sits like an island, completely encircled by water and connected only by a narrow access path from the cart path, creating a dramatic stage that demands a fully committed swing. There is no bailout, no safe miss—just a pure, picturesque shot that rewards precision and punishes even a moment of hesitation. Find the putting surface and you’ll walk away with a smile; miss your mark and you’ll be reaching for another ball. It’s a stunning centerpiece of the layout, a hole players talk about long after the round has ended.
#13
13th Hole
This 374‑yard par 4 dogleg left offers a genuine birdie opportunity—if you choose the right line. A well‑placed tee shot sets you up with a short to mid‑iron into a large, receptive green. But the hole demands respect: try to cut off too much of the corner and the hazard running the entire length of the left side is waiting. Play it too safe and the fairway bunker on the right comes into play. Thread the needle from the tee, and this hole can quickly become one of the most rewarding on the course.
#14
14th Hole
Grip it and rip it on this 503‑yard par 5, a gentle dogleg right that invites aggression from the tee. A solid drive sets the stage for the moment every golfer remembers: do you take on the green in two or play it safe? The bold route has produced its share of eagles, but a mis‑hit second shot almost always finds the water guarding the approach. It’s the quintessential risk‑reward par 5—thrilling, tempting, and unforgettable—where fortune favors the fearless and every decision feels bigger than the yardage on the card.
#15
15th Hole
The final par 3 offers 166 yards to a generous green framed by bunkers on both the left and right. It may appear straightforward, but caution is essential—keeping your tee shot below the hole is the wisest play. Putts from above the cup can slip away quickly, as the downhill slope has a habit of sending even the softest strokes racing past. Find the proper level and you’re perfectly positioned for an easy par, or perhaps a well‑earned birdie to close out the hole with confidence.
#16
16th Hole
This uphill 355‑yard par 4 exudes quiet sophistication, its fairway framed by sculpted bunkers that guard both the right and left with deliberate intent. Precision off the tee is essential, setting up the final approach of the day with purpose. And for those still chasing that elusive birdie, this hole offers one last distinguished opportunity—a chance to post the number you’ve been working toward all round. Execute with confidence, and you’ll walk off the green feeling every bit as accomplished as the hole looks.
#17
17th Hole
Standing on the tee, the towering trees to the left and the dense woods to the right immediately command your attention. Precision is the currency here. Stripe your driver down the center and you’re rewarded with an uphill short‑iron approach into a spacious green, elegantly guarded by bunkers on both sides. But be warned—long is not an option. Anything past the putting surface turns a well‑played hole into an unwelcome challenge. Execute with confidence, and this hole becomes a beautifully crafted examination of control and composure.
#18
18th Hole
Your round concludes with a magnificent 459‑yard par 5, a finishing hole framed by thick, imposing woods on both sides of the fairway. It forms a natural corridor that demands total commitment from the tee—echoing Harvey Penick’s timeless advice to “Take Dead Aim.” Finding the fairway is a luxury, but even then, reaching this green in two requires your absolute Sunday best. Walk away with par or birdie here and you’ll catch yourself glancing at your watch, wondering if there’s still enough daylight to head back to the first tee for another 18.
Clintonville Riverside Golf Club
Upcoming Tournaments
Featured
Best Ball Bonanza
Featured
Ladies Jamboree
Featured
Riverside Big Cup
Featured